


A couple of weeks ago, I reached the point of no return and before I could embark on any more sewing the time had come to tidy my Sewing Room...to say it was a pit would be an understatement!
I had a huge sort out and gave two massive bags of fabric to a friends daughter who is embarking on her Textiles GCSE . Despite this, I still have a mountain of fabric left over, no surprise since I own a quilt shop and as a perk of the day job, I get to bring home pretty snippets and end of bolts adding to my ever growing personal stash. I set to sorting and folding, a somewhat therapeutic activity, and as you do I started putting together pretty combinations, one light, one dark...perfect pairs in my eyes.
Before I knew it... a new quilt was in the making...my Perfect Pairs quilt. The design was simple, pretty hearts appliqued on to a low volume background..... and in less than 2 weeks I had a completed quilt top. Ok I admit that I did become a little obsessed and this was all I sewed, every evening and every spare moment during that time. Here's my finished little quilt.........

My Perfect Pairs quilt measures a sweet 40" x 50". I had thought before I sewed the rows together that I would add some low volume borders, but in the end I decided I liked it just as it is. I think Poppy also has eyes on it and is envisaging it as a lap quilt in her bedroom once it's been quilted and bound.
The nice thing with this is design is its total flexibility, it could be smaller, imagine it as a sweet pram or crib quilt or indeed larger, by either adding more blocks or adding some pretty borders.
If you fancy making one, here's what I did.....
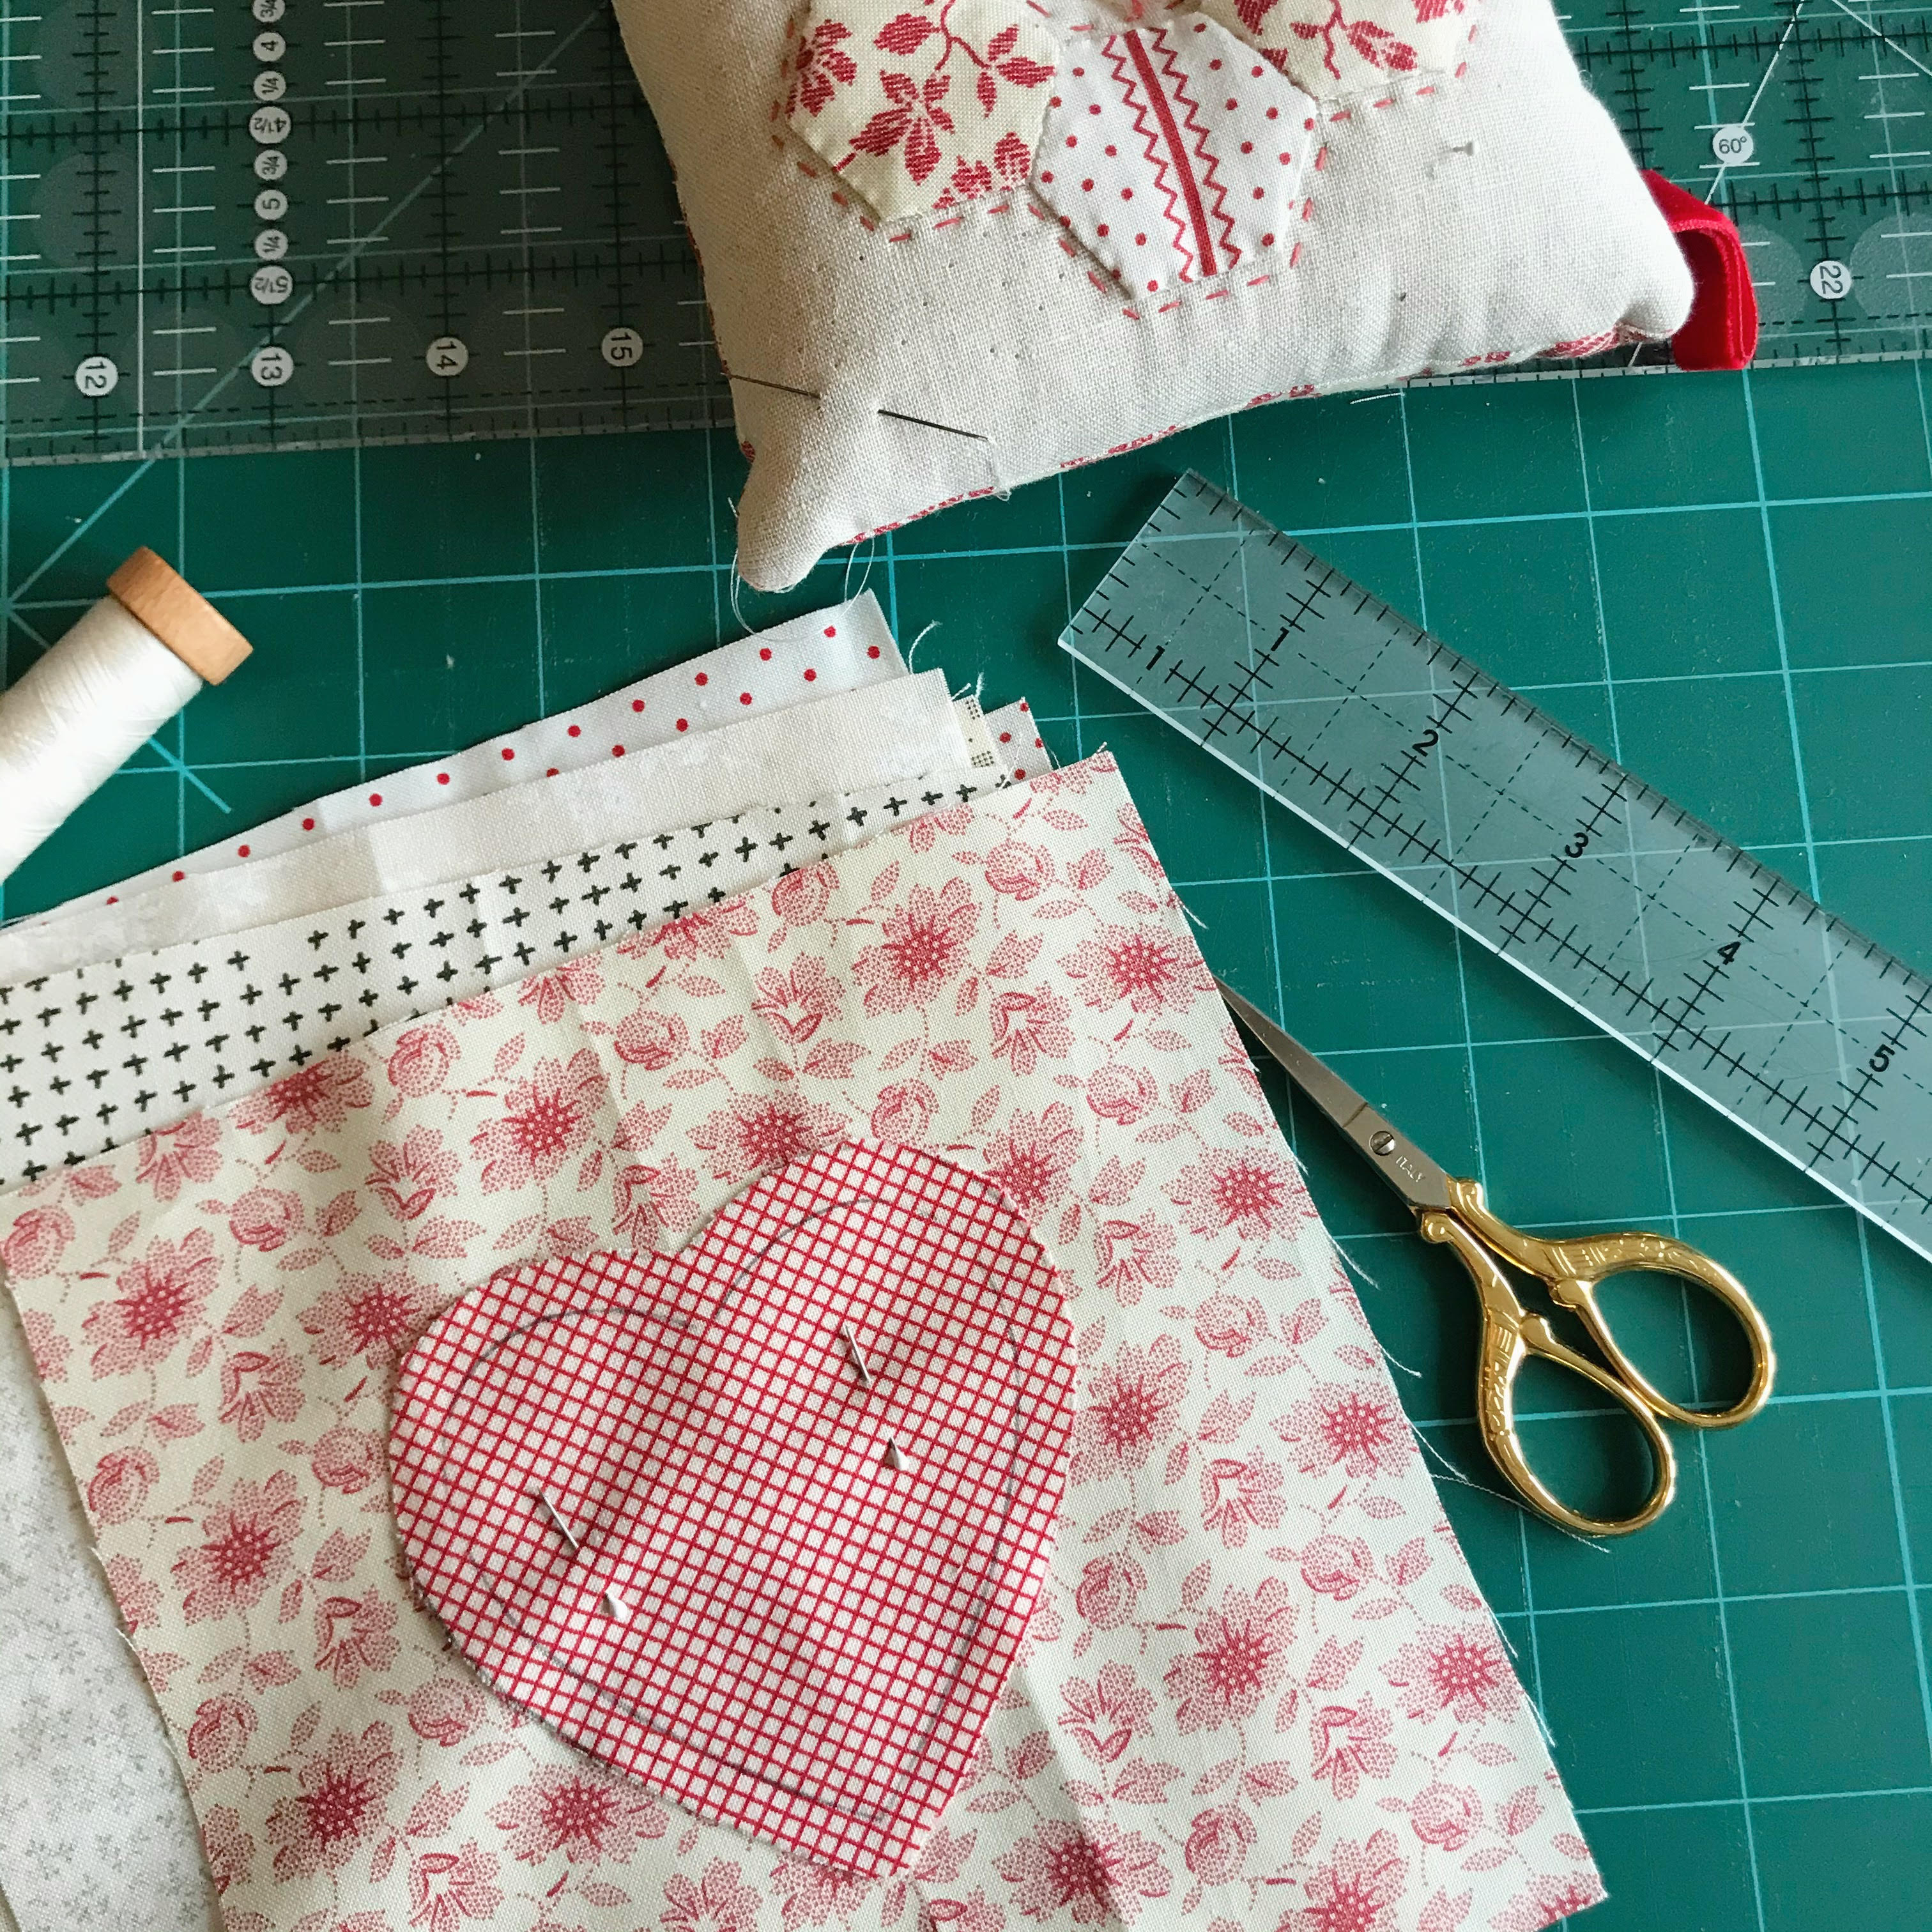
First off I grabbed the heart template I had made for the heart block in my Penny's Sampler Quilt.... however whilst making this quilt, I decided it would be really great to have an acrylic template...so I soon remedied that and look at these fabulous two part templates I had made......

For needle turn, use as above to mark your finished size applique on the fabric and then draw around the outer edge of the frame to give you your 1/4" seam allowance and cutting line. Personally, I found a 1/4" seam allowance great for this size applique (the heart measures approx 3" wide and tall). If however you prefer a more scant seam allowance then simply eyeball and cut as required.
Did you also notice the additional guide lines I had etched on the template and the hole in the centre...these are particularly helpful to aide fussy cutting.
For my quilt, I chose to needle turn my appliques, which meant that I could do the whole process sat on the sofa! I tend to machine sew at the weekends, so that my evenings can be spent with Andy, all be it always with a sewing project on my lap and in my hands. I'll be sharing 'a little happy' tutorial very soon on how I like to needle turn my appliques.... UPDATED You can find this HERE
Before moving on and if the thought of needle turn applique fills you with you horror....just to say that on Penny's Sampler, where the heart is exactly the same size..see below... I used the interfacing method, so honestly go with which ever applique method you feel happiest with!!

Once prepped, using my Clover Applique pins, I pinned the hearts to the centre of a perfectly coordinating 6" background square.
To applique, I used threads to match the colour of my heart fabrics, which were a mix of 50wt and 80wt Aurifil threads, but I must say 80wt is a dream to applique with.


Once trimmed I sewed my rows together with a 1/4" seam allowance. I pressed the seams in alternating directions on each row, which allowed me to nest the seams when I joined the rows together. I pressed this seam open to reduce bulk.

Nesting the seams really helps with nice matchy corners....


That's a little happy tip by the way..... do the essential quilting so that your quilt is functional, after all that is the purpose of quilting to join together the quilt top, wadding and backing. Then once the essential quilting has been completed go back and add more if you wish!
Sadly, as this was an impromptu project... I don't have the time at the moment to hand quilt, but I'm thinking that this would be a super lovely project to take with me to sew on our family holiday to Yorkshire this May. I will of course share it with you once completed.

I ended up with some pretty scraps from the 6" squares that I cut my hearts from, so I couldn't resist playing...these are 1" squares finished. I'm not quite sure what they will become, but sweet aren't they!!

SCRUMMY SUPPLIES
If you would like to make your very own Perfect Pairs quilt, you can find the template for sale on our website HERE.
UPDATE OF THE COMPLETED QUILT
I thought you would like to see the completed quilt now that it's all hand quilted. I simply shadow quilted around each heart using a pretty Pale Pink Aurifil 12wt thread. You can find my 'little happy' tutorial on hand quilting HERE. It was thoroughly relaxing a just did a few hearts a day until I was finished.


I then used a gorgeous piece of 'old school' Cath Kidston cotton fabric for the backing and a lovely rosy red gingham for the binding. For how to add the binding, take a peek at THIS 'little happy' tutorial.

I loved every moment, so much so I did start another.....although I think in truth, it will be in my 'to be completed' box for quite a while!
.JPG)

Wishing you lots of happy stitches,
Sarah xo
This is gorgeous. I do have a question, if you could only use 1 or 2 colours of Aurfil to do the appliqué (due to cost) which would you buy?
ReplyDeleteHi Kay...I would absolutely go for Aurifil 80wt for the applique..it's a dream! Choose a neutral shade, so a beige / off white / silver grey depending on the tomes of the majority of fabrics. It's super fine, so with small stitches it will blend beautifully. Hope that helps! Sarah xo
DeleteYour quilt top is so sweet, just love it. You're a genius, washi tape on the rulers, what a brill idea. I bought some yonks ago but didn't really have a use for it. I have now, thank you. Sharon
ReplyDeleteThese hearts are so sweet! What an adorable Valentine's Day project! I too get sidetracked when trying to clean out my supplies.
ReplyDeleteI love your quilt. It is so pretty.
ReplyDeleteAwesome quilting, great work..
ReplyDeleteIs there a reason for appliquéing the hearts to 6inch square and not a 5.5 inch to save on cutting?
ReplyDeleteHi Julie, the reason I trim to 5 1/2" after the applique, is that the squares can shrink slightly when you've stitched the appliques. By trimming after, you are able to accurately trim the squares all to the same measurement.
DeleteI hope that helps,
Sarah xo