Coronavirus has greatly impacted on ALL our lives this year and has without doubt effected us all in different ways, for many causing moments of anxiety and uncertainty. For those already living with mental health problems, it has been a particularly difficult year. With Christmas approaching, the effects of the COVID 19 pandemic will be ongoing.
I have always believed that having a needle and thread in my hands contributes enormously to my general well being. With this in mind I have designed a pretty set of Christmas Advent Felt decorations. On each of the four Sundays throughout Advent, I will be sharing the instructions and templates on our blog (alittlehappyplace.blogspot.co.uk), to make 6 little decorations, 24 ornaments in total. The first set of templates is available today and then each Sunday for the nest three weeks throughout Advent.
The pattern is free, BUT if at all possible, on this occasion we are also asking you to make a small charity donation to MIND through our Just Giving page... please give as much as you can... even £2 can make a difference!
I actually designed and started stitching my Advent Decorations a couple of years ago.... I had originally intended that I would release a pattern via the website at some point this year, but then earlier this year, in the height of the first Lockdown, I decided it would be far nicer to share them here!
Last year I hung my decorations on our little potted Christmas tree along with a string of fairy lights and they looked so pretty......
Or if you fancy just making one or two, they would look equally lovely added to a Christmas parcel for someone special!
I know some of you will ask if we’re doing felt bundles... I’m afraid not... we simply have run of time to do so.. but this project was never about making money for the business. It has been a whirlwind of a year for mum (Penny) and I, at both Pretty Fabrics and Trims and at home (oh yes..home schooling for months.. hats off to the teachers amongst you!) We are however extremely grateful for the amazing support that you have given our family business this year, so this is our way of giving back... thank you in advance for helping us to make a difference!
SO, LETS GETS STITCHING!
First off you'll need to gather some supplies....
- You will need to print off the first template sheet, which you can do so HERE.
- Felt ~ this will be a great project for using up little bits of felt, but you will need a decent amount for the colours that you decide to use for the backgrounds. I chose colours inspired in my head by the ballet 'The Nutcracker'...I am very excited to see what combination you use! My felt of choice and what we use in all our kits is National Nonwovens Wool/Rayon mix felt.
- Threads ~ I used Aurifil wool threads, but embroidery floss would be marvellous too, I would suggest that you use two strands separated from the main strand of floss.
- Reynolds Freezer Paper (for tracing the templates on to...more about this below)
- Twine ~ I used Red and White Bakers Twine, but in the example on how to stitch the decorations you can see I used garden twine, you could also use ribbon if you like.
- Bells and Buttons ~ optional, but I added some teeny buttons and jingly bells to some of my decorations, you could also add beads or sequins or replace them with felt or embroidery...have fun!
- Plus all your favourite sewing notions!
CUTTING FELT AND GENERAL PIECING NOTES
Small sharp scissors are essential for cutting felt, personally I find my 5" Fiskers Needlework scissors are brilliant.
The process for making each of the decorations is the same and the designs are very simple, here's what you do:
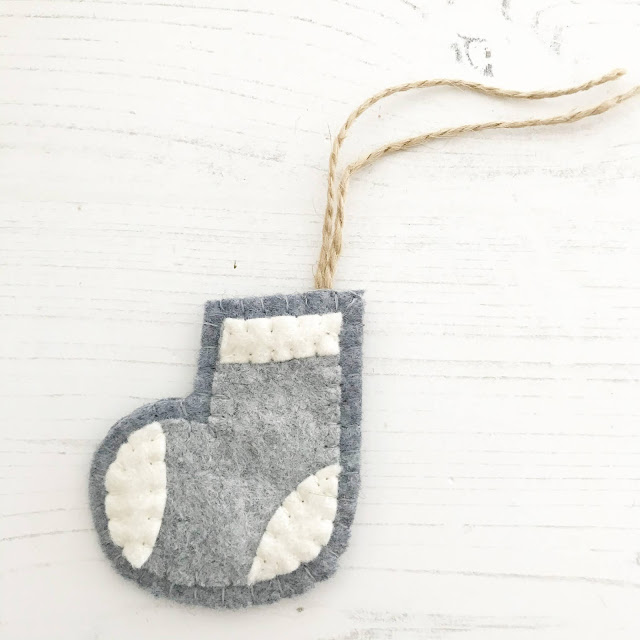
From the template sheet, I traced the stocking and the little cuff, toe and heel onto the non shiny paper side of the freezer paper. Cut out, iron the paper shiny/waxy side facing down on top of the felt, cut out and peel away when you’re ready to sew. The papers can be reused a number of times, so hang on to them.
Place the main applique shape on to a contrasting square/rectangular piece of background felt....the background felt needs to be approx. 1/2" bigger all round than the main applique piece.....I eyeball this. Then, cut a second square/rectangular background piece of felt the same size, put the second piece to one side for the time being.
This week, we're going to make a drum, Christmas wreath, a rocking horse, a heart, a candy cane and a stocking. They are all made in exactly the same way as the stocking example above, but for each decoration I have given a little breakdown of the order in which I made each one.......
That's it for week one, I hope that you enjoy stitching your first set of decorations. Here's the schedule:
- Week 1 ~ Sunday 29th November 2020
- Week 2 ~ Sunday 6th December 2020 CLICK HERE
- Week 3 ~ Sunday 13th December 2020 CLICK HERE
- Week 4 ~ Sunday 20th December 2020 CLICK HERE
If you're sewing along and sharing on social media please use the hashtags:
#alittlehappysewalong or/and #prettyfabricsandtrims
Finally, please remember if you can, to make a donation, the smallest amount will make a huge to difference to someone in need.........
Very best wishes and happy stitches,
Sarah xo


How do I download the patterns for Christmas decorations (advent calendar)
ReplyDeleteHi Kat, in the 'SO, LETS GETS STITCHING!' section at the beginning of each post, there's a link to print of the templates. Which are for personal use only. Sarah x
ReplyDelete