31 March 2015

Obsessing....... over stitching a log cabin quilt


It started back in January, when I saw the new Tilda catalogue and inside there was the most gorgeous log cabin quilt, stitched in Apple Bloom....


Then, whilst perusing on Instagram, it seemed that so many of my favourite quilters were making log cabins.  By the way, how fun is Instagram, if you're on there make sure you come and say hello, I'm 


So obviously you know where this is going, it was inevitable....right?  


So, Friday evening I started to pull some fabrics, the starting point being some Cath Kidston Cowboy fabric I've been hoarding..... from this I fussy cut twelve 2 1/2" squares. I then pulled some blenders, ..grabbed my Rotary cutter and from these started cutting 1 1/2" strips, a couple from each of the pieces.  

'a little happy note' ~  a traditional log cabin quilt normally has a light and dark side, however I decided to throw caution to the wind and against my usual 'need to plan' mentality went scrappy....


Unlike the Tilda log cabin, where all the pieces are precut to the correct size, I went for the easy peasy strip piecing method.....this is what I did....

I grabbed a strip at random and placed it right side to right side along the top of the centre square.  I then stitched it in place using 1/4" seams.

Using the edge of the cowboy square as a guide, I trimmed away the excess, returning the excess strip back to the pile to be used again on a later block.
 I then pressed the seam directing the seam allowance to the darker fabric.
 I then grabbed a second strip at random and moving clockwise, placed this right side to right side along the right hand and stitched in place.......
 I then cut away the excess and pressed to the darker fabric (can you see the theme going here)
 I repeated this process for the third strip along the bottom edge.....

 and the 4th strip on the left hand edge...
 and then continued round and round until I pieced 8 strips rotating in a clockwise direction as shown below

I ended up with a 6 1/2 square block.  In total I made 12 blocks, which I layed out in 4 rows of 3. To these I added some sashing ,  I cut these 2" wide and firstly added these vertically either side of the blocks to form rows and then horizontally in between to join the rows.


I decided to add a couple of borders, for the first one I used Sevenberry Polka Dot in Navy which was cut at 1 1/2" wide and then a further Architextures which was cut at 2" wide.  


To finish, I layered the quilt and for the backing a piece of the cowboy fabric in blue, which incidentally is a lovely brushed cotton..... so snuggly!  I crosshatch quilted and for the binding I used a stripe from the Oh Clemintine collection.  (If you're new to quilting, there's lots more information on borders, layering, quilting and binding on my 'quilt along' page which you can find here)


This little quilt has been gifted to my brother and sister in law and is destined for a very special new arrival due this summer...how exciting..... but I'm sure you're all wondering have I got my obsession for log cabin quilts out of my system.... only time will tell!

Quilt Stats

Fabric ~ Cath Kidston Cowboy and a jolly selection of blenders from my website Pretty Fabrics and Trims
Pattern ~ Traditional Log Cabin given 'a little happy' twist.
Size ~ 29" x 36 1/2"

Share:

21 March 2015

Miss Maggie Rabbit


I have for many years been a huge admirer of Alica Poulson, she has a style so effortlessly beautiful.   On my crafty wish list for what seems like forever has been to make Miss Maggie Rabbit....I purchased the pattern almost as soon as it was released.....last weekend this became a reality and oh what fun she was to make.

I called on mum to knit her little shawl for me (it's Debbie Bliss Baby Cashmerino in Amber that I have left over from a little crochet cowl I'm making) ...  having attempted and failed to learn to knit over the Christmas holidays, I have to say I think I have found the one craft that I do not love.  

Rather indulgently, Miss Maggie was always destined to be mine.... I had intended on her living in my sewing room, she does however look very comfy on the sofa in the living room, the challenge being for her to stay there and be snaffled off to a certain Miss Poppy's room....there's nothing for it, I'm going to have to make another!


Did you spot the other finish......... two in one week....what about that!  I'll be back with pics of my latest Brick Quilt another day, when it's not quite so blustery outside.  Have  a lovely weekend.
Share:

10 March 2015

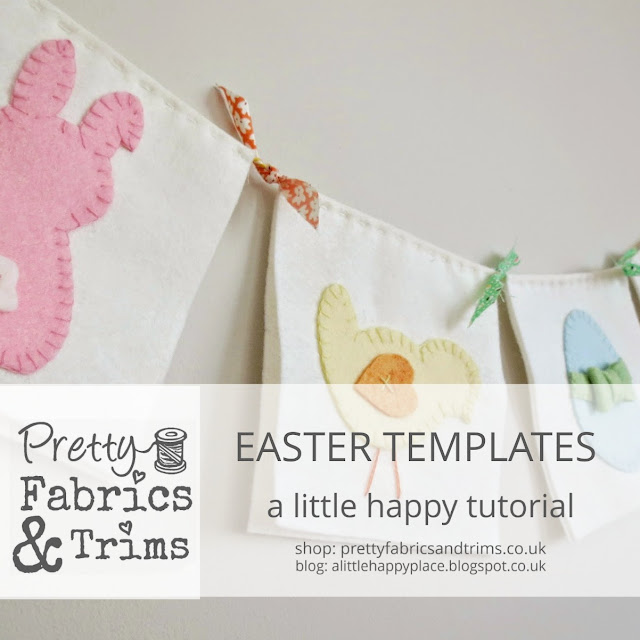
A little happy Easter Bunting ~ Free Easter Templates


It's been such a fun few weeks for new arrivals.... first up was a bumper box (or two) full to brimming with metres and metres of scrummy WoolFelt® closely followed by our first order of Aurifil, which in addition to cotton 50 wt and 12 wt threads included some luscious wool ones.   As you can imagine, I could hardly contain my excitement and quick as a flash, I had some bunting flags cut out and I had grabbed my drawing pad to sketch some sweet Easter designs.

I've then spent the last few evenings (when I haven't fallen asleep on the sofa) slowly and happily stitching......


It seems ages since I did any felt work and oh how much I have missed it, I honestly do not think there is anything more relaxing than sitting losing myself in the happy momentum of blanket stitches......

Anyway I thought it would be a fun little project to share, so if you would like to make an Easter Bunting like me, here's what you will need.....

30cm of Off White WoolFelt®
A selection of pretty pastel WoolFelt® 
Co-ordinating threads 
1 1/2 metres of Bakers Twine 

I haven't written a tutorial as such, but here are some pictures and notes for you and of course if you have any questions, please do get in touch!

To print off the templates, highlight the picture below, then 'Right' click on your mouse, then select 'open in a new window' and then print using the keys 'CTRL' and 'P'.


From the Off White WoolFelt® cut 5 flags each one measuring 12.5cm by 25cm and from your pretty pastels cut out your choice of the Easter Templates.  Press the flags in half so that you have 12.5cm squares with the folded edge across the top..... unfold and then pin and stitch your templates to what is effectively the front of your bunting flag i.e below the fold.

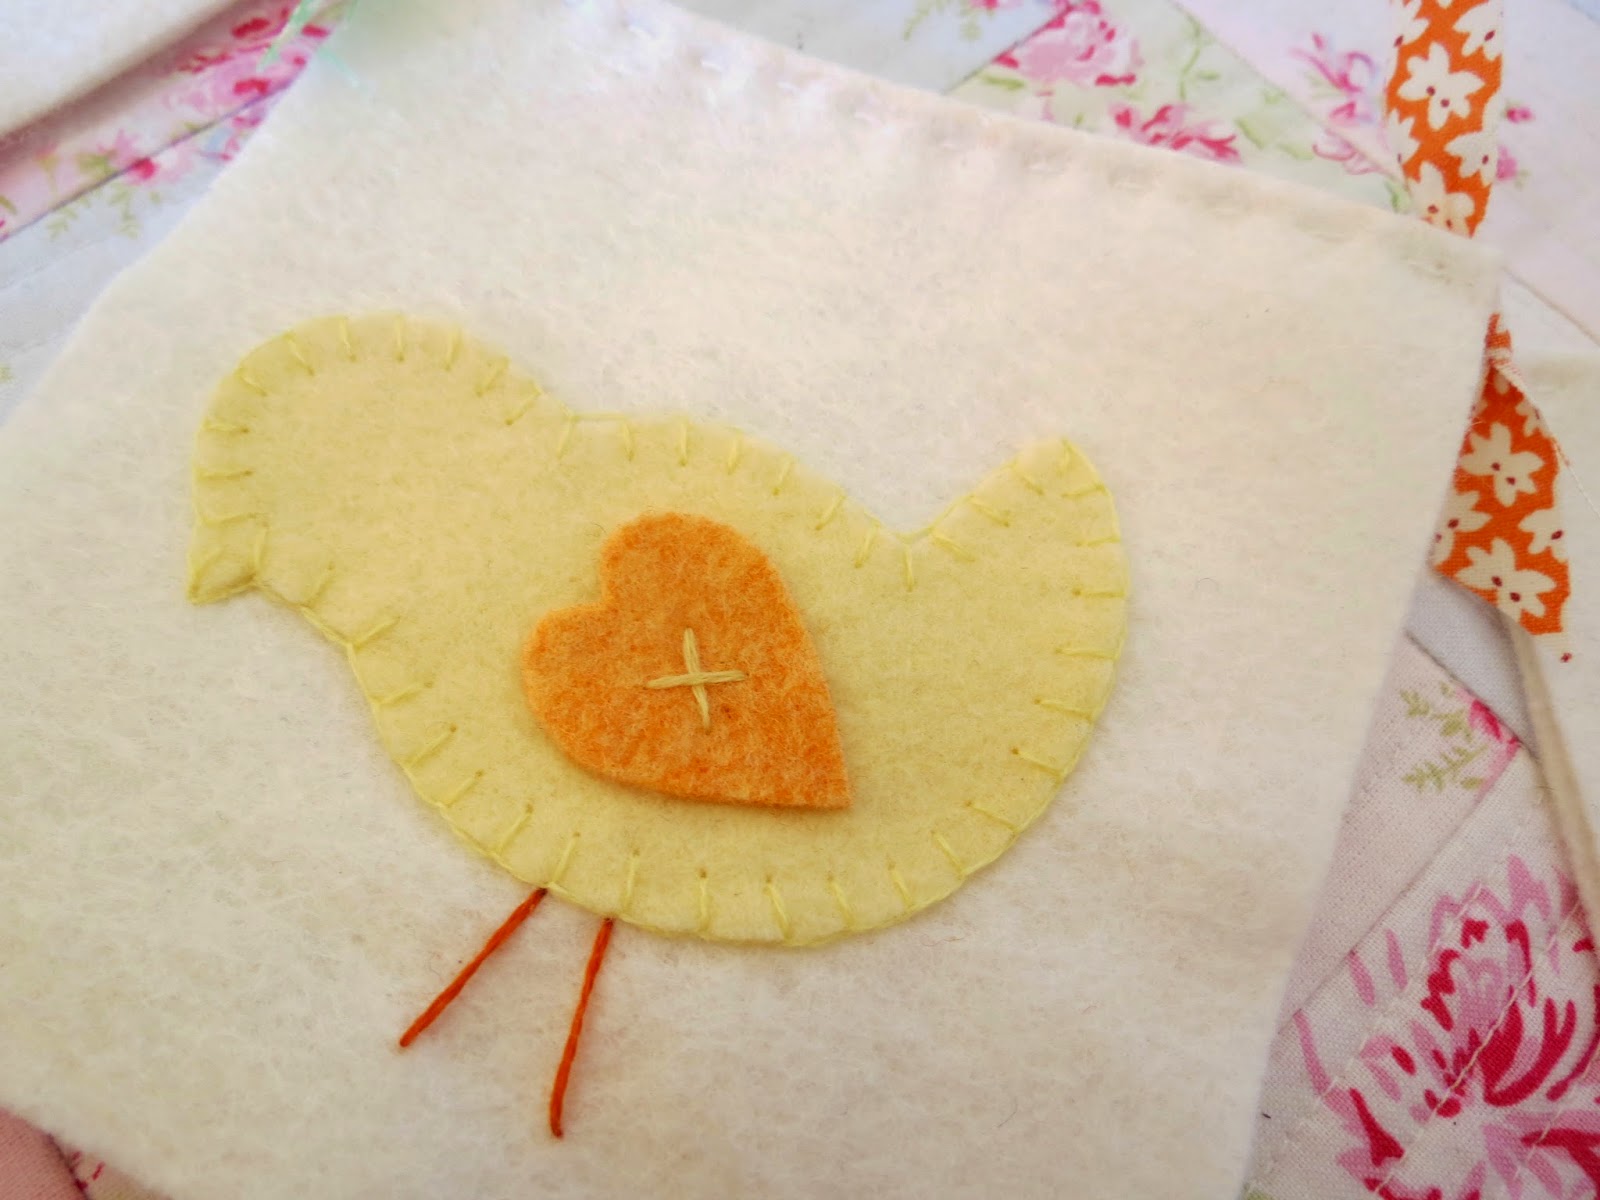
Each of the appliques were sewn in place using blanket stitch, (if you haven't used this stitch before, you may find this post helpful).  A simple cross stitch with the Aurifil Wool thread doubled up, secured the fluffy tail on the bunny and the little chicks wing in place and then a couple of long straight stitches form the chicks legs.  


I made the little bow for the Easter Egg in the same way as I made this.  
To complete the bunting, refold the flags and place them over the Bakers Twine.  Stitch a row of straight stitches aprox 5mm away from the fold forming a casing for the twine.  As a final little flourish, I cut some strips of fabric from my scrap bag (each one was aprox 1cm by 10cm) and I simply knotted them over the twine in between the flags.
That's it, hang up your flags and enjoy!


So that it's for now, I hope that you enjoy making your own Easter Bunting!

Share:
© A Little Happy Place | All rights reserved.
Blog Layout Created by pipdig