


It's been such a fun few weeks for new arrivals.... first up was a bumper box (or two) full to brimming with metres and metres of scrummy WoolFelt® closely followed by our first order of Aurifil, which in addition to cotton 50 wt and 12 wt threads included some luscious wool ones. As you can imagine, I could hardly contain my excitement and quick as a flash, I had some bunting flags cut out and I had grabbed my drawing pad to sketch some sweet Easter designs.
I've then spent the last few evenings (when I haven't fallen asleep on the sofa) slowly and happily stitching......


It seems ages since I did any felt work and oh how much I have missed it, I honestly do not think there is anything more relaxing than sitting losing myself in the happy momentum of blanket stitches......

Anyway I thought it would be a fun little project to share, so if you would like to make an Easter Bunting like me, here's what you will need.....
30cm of Off White WoolFelt®
A selection of pretty pastel WoolFelt®
Co-ordinating threads
1 1/2 metres of Bakers Twine
I haven't written a tutorial as such, but here are some pictures and notes for you and of course if you have any questions, please do get in touch!
To print off the templates, highlight the picture below, then 'Right' click on your mouse, then select 'open in a new window' and then print using the keys 'CTRL' and 'P'.

From the Off White WoolFelt® cut 5 flags each one measuring 12.5cm by 25cm and from your pretty pastels cut out your choice of the Easter Templates. Press the flags in half so that you have 12.5cm squares with the folded edge across the top..... unfold and then pin and stitch your templates to what is effectively the front of your bunting flag i.e below the fold.
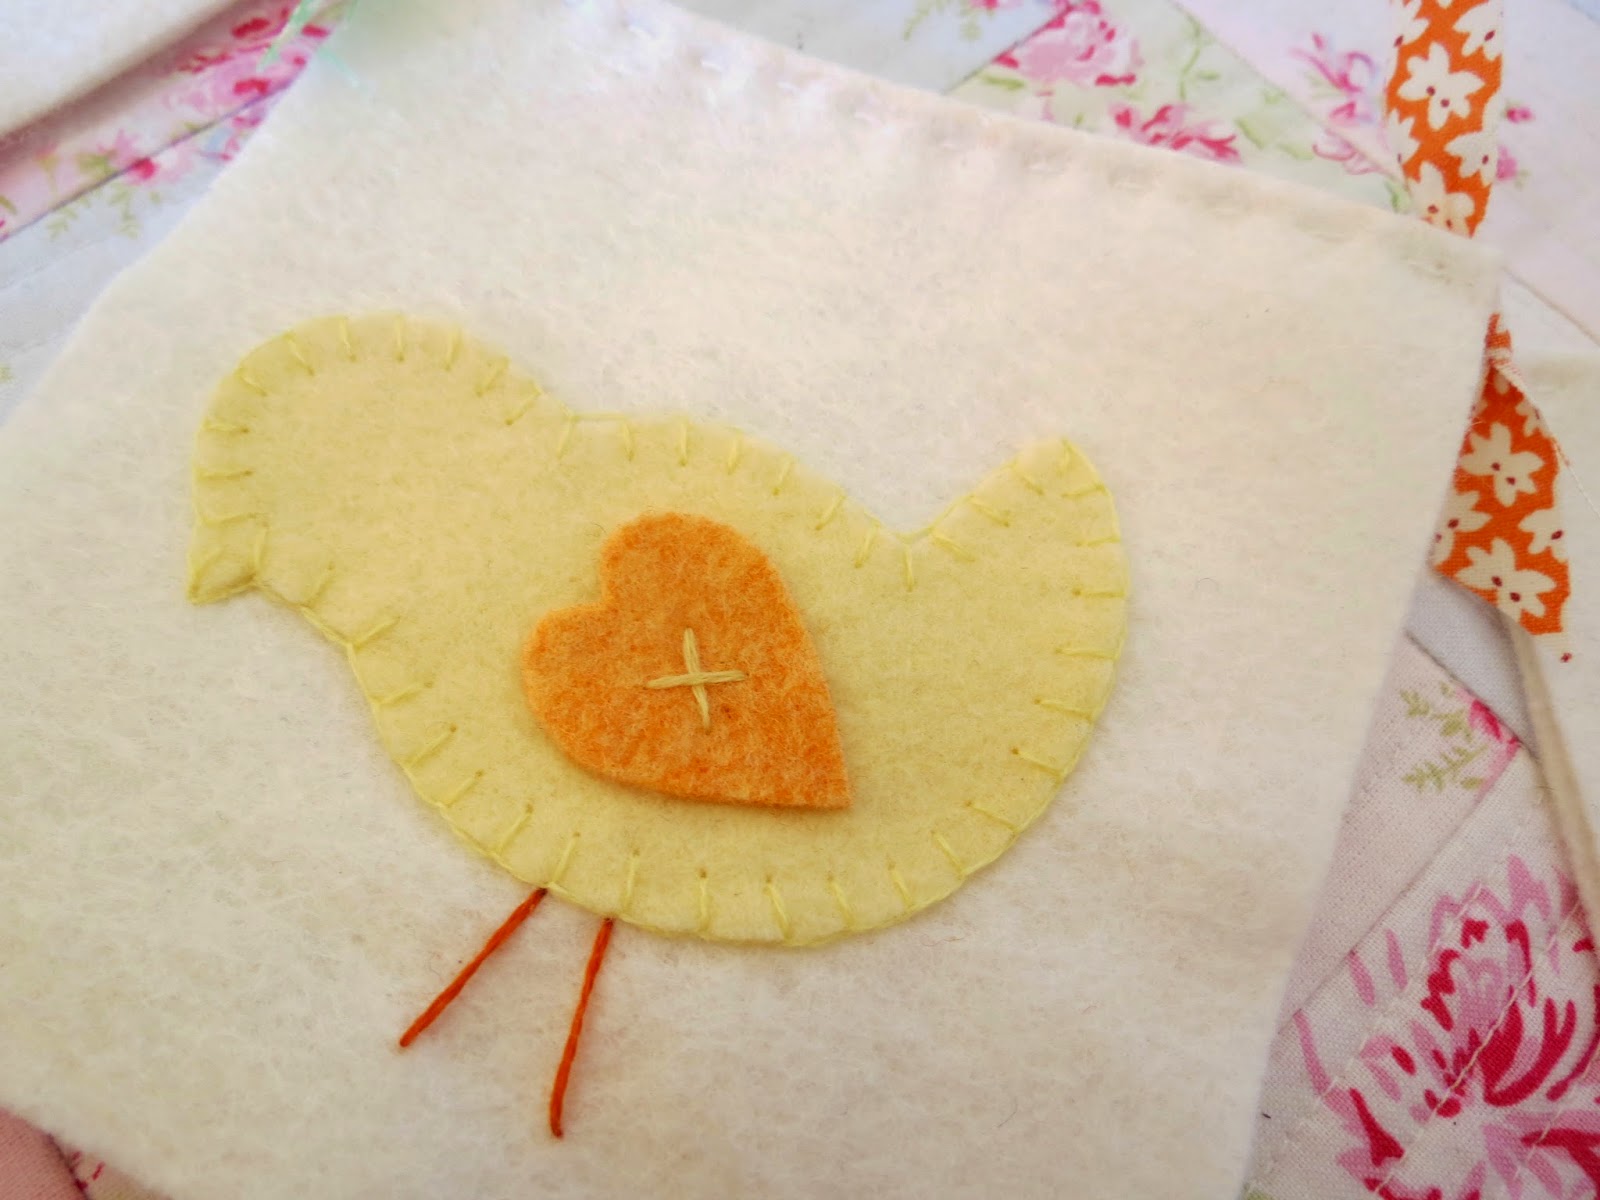
Each of the appliques were sewn in place using blanket stitch, (if you haven't used this stitch before, you may find this post helpful). A simple cross stitch with the Aurifil Wool thread doubled up, secured the fluffy tail on the bunny and the little chicks wing in place and then a couple of long straight stitches form the chicks legs.

I made the little bow for the Easter Egg in the same way as I made this.

To complete the bunting, refold the flags and place them over the Bakers Twine. Stitch a row of straight stitches aprox 5mm away from the fold forming a casing for the twine. As a final little flourish, I cut some strips of fabric from my scrap bag (each one was aprox 1cm by 10cm) and I simply knotted them over the twine in between the flags.


So that it's for now, I hope that you enjoy making your own Easter Bunting!
What a lovely project. I too love working with felt, and I haven't done any applique for months and months. I think I like Easter crafting almost as much as Christmas!
ReplyDeleteThank you! SOOOO cute! I just printed off my pattern and I have a stash of wool felt so I will be stitching away tonight. I think I will add ric rac around the borders!
ReplyDeleteBeautiful!!!!!
ReplyDeletexxxxxx ale
SO incredibly cute and lovely!!!! Especially the egg with the 3D bow, I love that one!!! A great way to showcase your new materials! xx
ReplyDeleteYour little Easter figures are so sweet. Thanks for sharing this with us.
ReplyDeleteHave a great day, Margaret
The Easter bunting is lovely.
ReplyDeleteThis is just darling! I love it! Thank you for the pattern!
ReplyDeleteThis is just darling! I love it! Thank you for the pattern!
ReplyDelete