


Sorry folks.... no prizes for guessing what this months block was going to be in our current Block of the Month 'A Little Happy Year' ! It had to of course be the Christmas Tree. The tree itself is quite easy to piece, however this month sees the first little snippet of applique. As I've mentioned before, my favourite method of applique is the interfacing method and it is what I use for the Christmas trees in our Merry Christmas Sew Along, you can find my tutorial for that HERE.
I thought however it would be useful to recap those instructions not only for our BOM members but also for my other readers who may find this useful. Where our little star differs from the triangles I made previously is, that the star has some pesky inside corners, so I'm going to show you how to deal with those.
First off you will need to gather your supplies...you will need a star template (mine as you can tell from it's rather raggedy state has seen a lot of action!), some Lightweight 'sew in' Interfacing, I use THIS ONE and fabric for your star. Make sure both the piece of interfacing and fabric is approximately 1/2" bigger than the star template.
To start, trace around the edge of the star on to the interfacing. Make sure the line is clearly visable, I use my Frixion marker for this as I know that the lines will disappear when the finished applique is ironed.


Carefully turn the star through the interfacing, I find a wooden chopstick absolutely brilliant for this. Again you need to balance gusto with slight trepidation, given those points a good shove, but make sure you don't push your chopstick through the interfacing. This is one of those tasks that the more you do, the more you get a feel for it and believe me you will be really pleased that you persevere with this process when you see the finished appliques!!! Don't expect the pointiest of points, your aiming for a soft curvaceous point.
Here's mine before it had a nice press........

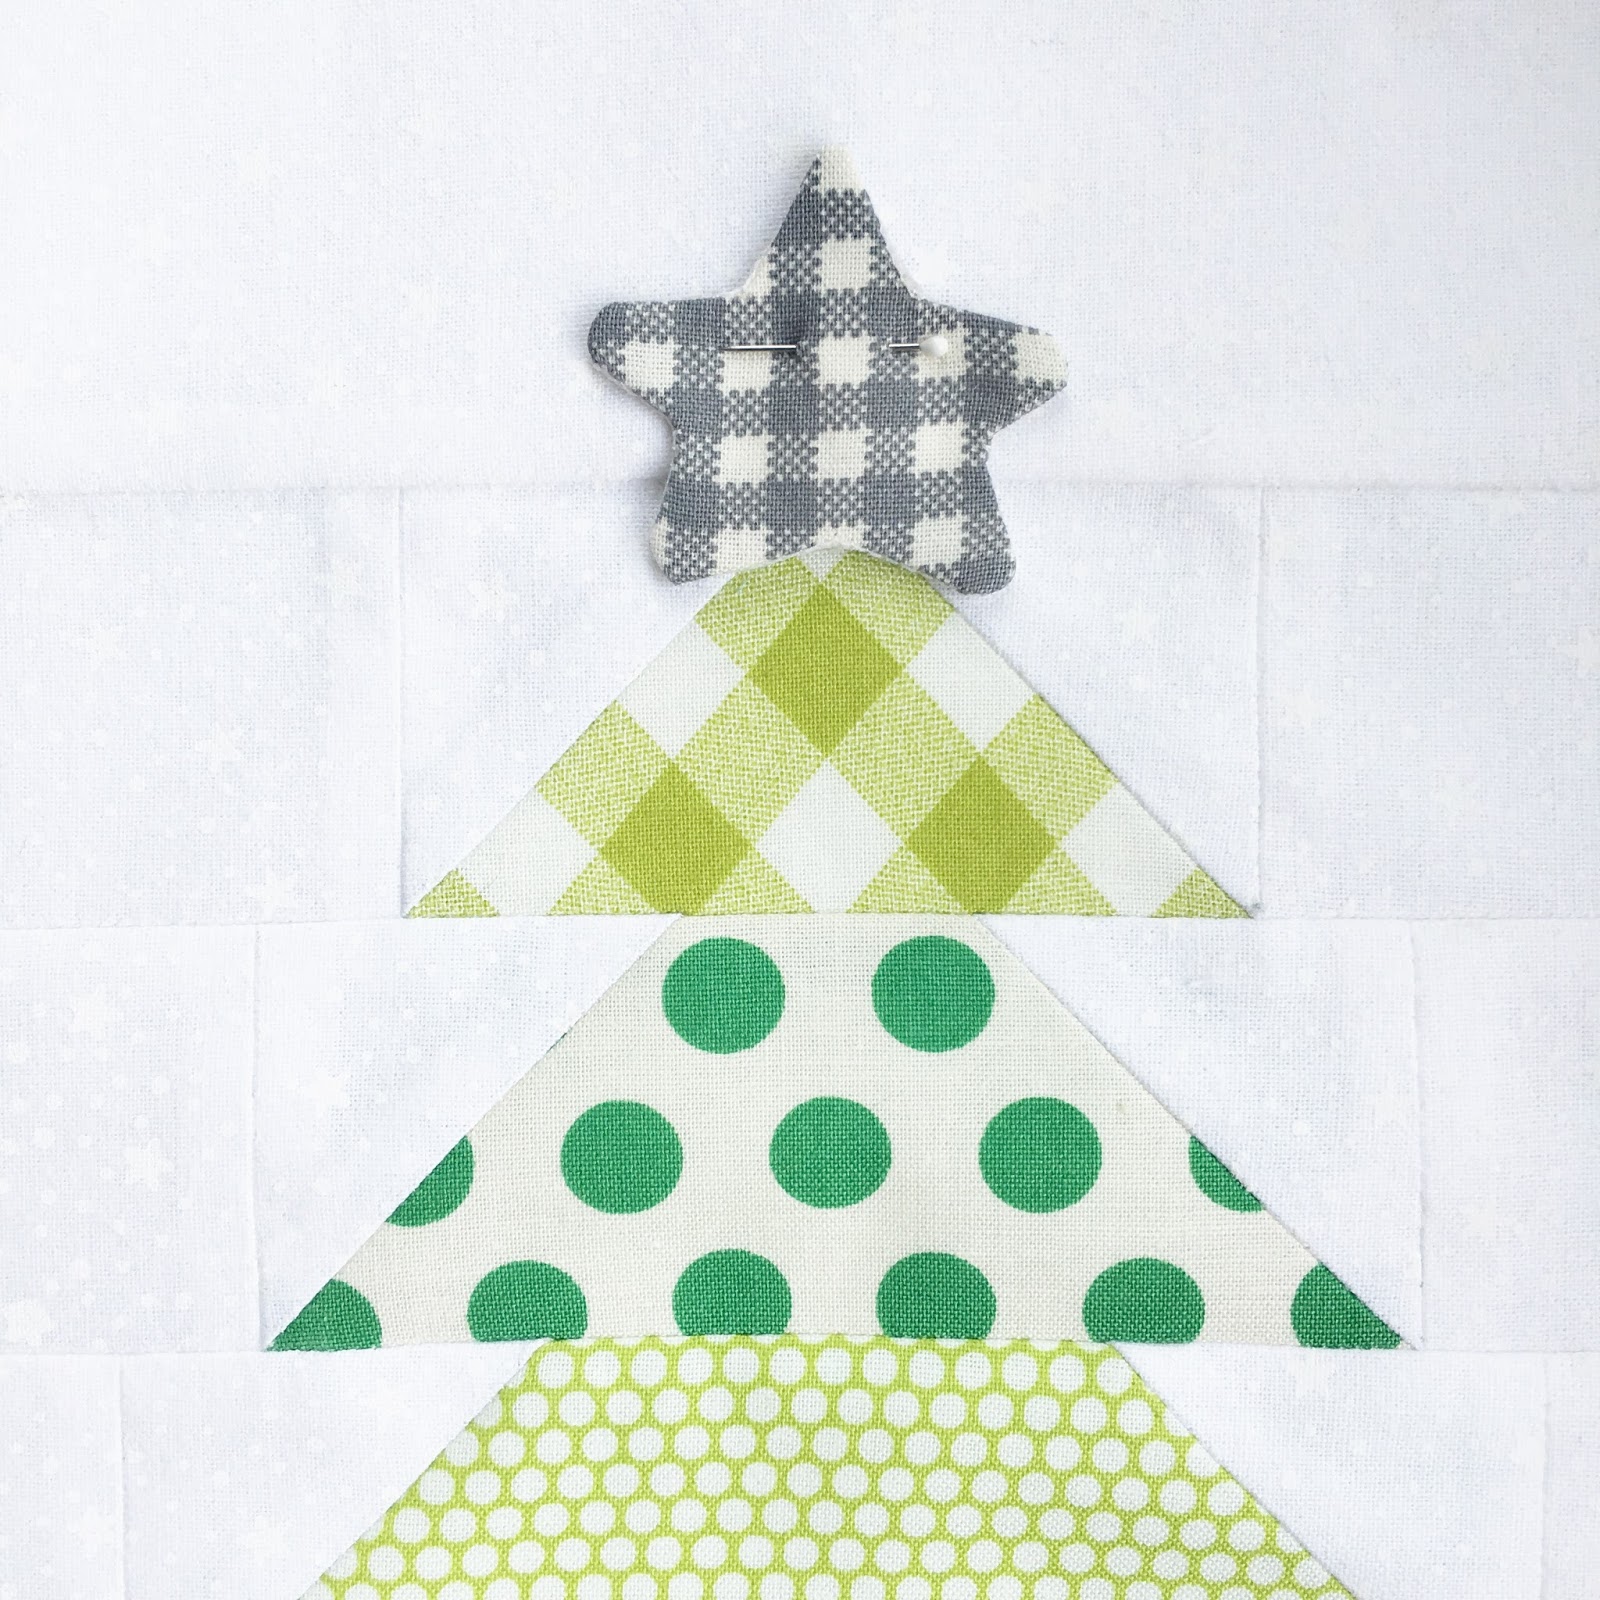
All that is left to do is to hand stitch the star in place. I use Clover Black Gold Applique needles for this. Pick a thread colour to match your applique rather than the background fabric, I use 50wt Aurifil thread for this and teeny tiny whip stitches.
A little happy tip...... For a lovely neat finish, I bring my needle up from the back of the background fabric skimming the side of the applique, rather than directly into the applique. I then sew into the applique fabric and not through the interfacing. Then when you take the needle back down into the background fabric it will sandwich the interfacing underneath, entirely out of sight.
Our 'A little happy Year' Block of the Month is, I'm afraid, fully subscribed, but if you fancy joining our new Block of the Month 'A Little Happy Christmas' which will be starting in February 2017 make sure you sign up to receive all the updates HERE! You can read more about it on THIS blog post........and here's a little peek of some more of the blocks I'm working on .....


Happy Stitches!
Thanks for the tip with the appliqué stitching! I will definitely try that!!!
ReplyDeleteThx so much! I use that too for anything I can.
ReplyDelete