


EDITED 2019: AS SOME TIME HAS PASSED SINCE THIS ORIGINAL POST, FOR EASE, I HAVE ADDED A LIST OF ALL THE REQUIRED BLOG POSTS TO MAKE THIS MINI QUILT AT THE BOTTOM OF THIS POST.


If you would like to make this you will need to print off the embroidery patterns, applique templates and the bunting flag template HERE. I used a selection of pretty 1930's reproductions along with a mix of pin dots, stripes and gingham's. This would be a great project for those in our 'Flirty 30's Club', or of course, an ideal opportunity to do some scrap busting. If however, you would like to make one just like mine, you can purchase a kit HERE, which will also include all the fabrics, felt, wadding, backing fabric, plus all the pretty buttons and bakers twine. In addition, we've put together an embroidery floss set, which includes 5 skeins of Anchor stranded floss, you can order this HERE.
The Easter version was made in almost the exactly the same way as the Christmas version, the full instructions for this can be found HERE. Here's a picture of the fabrics I used to make the Easter Mini Quilt along side the one I made for the Christmas one to help you with the cutting.

In addition, for the appliqued flower and bunting fabrics you will need the following:
Bias Stem (1) 5/8" x 4" (put through a 1/4" Bias Maker) If you don't fancy making a bias stem, a pretty alternative would be some pretty ric rac or ribbon.
Leaves (1) 3" square
Flower Head (1) 3" square
You will also need 3 flower buttons, a ladybird button (optional) and some Bakers Twine
When it came to piecing the front, the only deviation from the Christmas version, being that I added the bias stem before I joined the top half to the bottom half, see the picture below...


Other than that, I added all the embellishments in the same order as before. In addition to following the all the instructions from the Christmas Sew Along, you may also find the following 'A Little Happy Tutorials' helpful:
How to use a Bias Maker to make Flower Stems is HERE
How to stitch French Knots is HERE
The only other thing that you need to know is how I made the little bunting flags. These were made by folding a small piece of fabric in half, pressing along the fold and then using the triangle template to cut out the flag.


I then folded this over the twine and stitched a row of running stitches to create a channel, that the bakers twine sits in. Once all five flags were stitched on to the bakers twine, I then tied this around the buttons. Easy peasy!

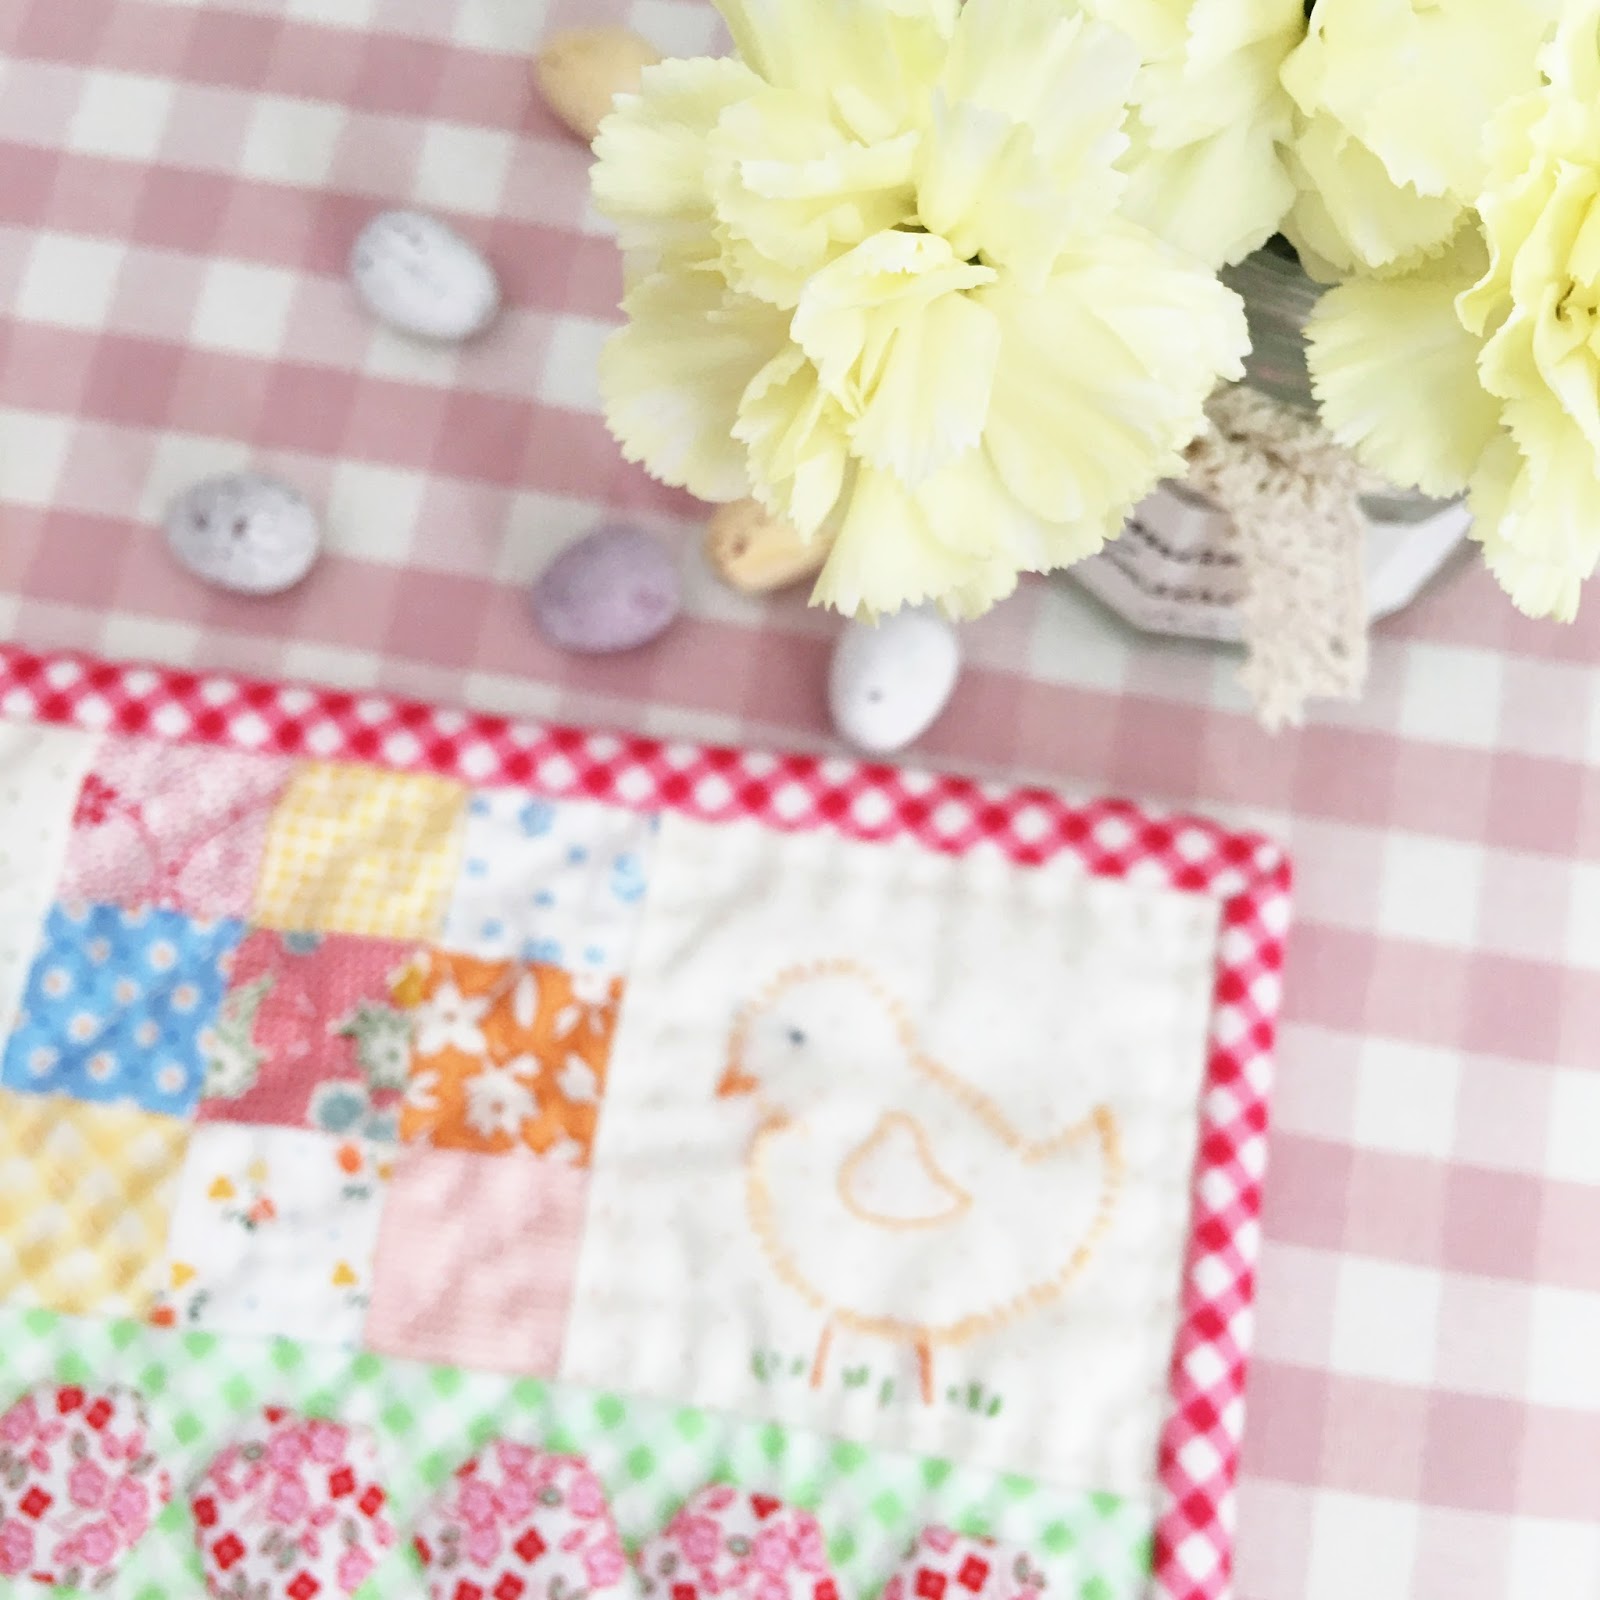
Obviously, it goes without saying that any Easter make requires mini eggs as an essential photo prop....... I couldn't possibly comment, but lets just say, I may need to buy some more before photographing any further Easter projects!


So there you go, I hope that you enjoy making your own version. As always, mum and I would LOVE to see them so please remember to tag your photos with the #alittlehappysewalong or/and #prettyfabricsandtrims
If you were popping in to view this weeks Happy Flower QAL block...I'll be back to share this tomorrow...I'm running a day late as Andy, myself and the children escaped to Centre Parcs for the weeked....we had such fun, but I think we now need a weekend off to get over the weekend away!
Happy Stitches!
2019 EDITED TO ADD:
Here is a list of all the blog posts you will need to assist you with the making of this mini quilt.
- You will need to print of the embroidery, applique and bunting flag templates, which can be found HERE.
- The Easter mini quilt was then made following the Christmas mini quilt instructions, which was originally run as a Sew Along over a 4 week period, which is why the instructions are broken down over the 4 different posts. The main post about this is HERE, which then has the links to the 4 separate instalments, but I'll link to these below:
- So the cutting and general instructions for piecing the background are HERE:
- The applique instalment is HERE:
- The third instalment on the Christmas version was to make felt stockings, on the Easter one I made a string of bunting, which I explain in the Easter mini post
- Finally, all the finishing touches, are discussed HERE:
Very cute little mini
ReplyDeleteGorgeous ! Thank you for taking the time to do this : )
ReplyDeletePerfect!
ReplyDelete