

It's been a while since I shared an embroidery tutorial, but I've been asked a couple of times in the last week how I back my embroidery hoops. Over the years I've tried different methods, but this my tried and trusted way, so I thought I would share.......

Before you start your hoop art, fabric pen* the inner hoop’s contour onto a piece of felt, then cut out. * I always use an erasable pen, just in case I make a mistake!

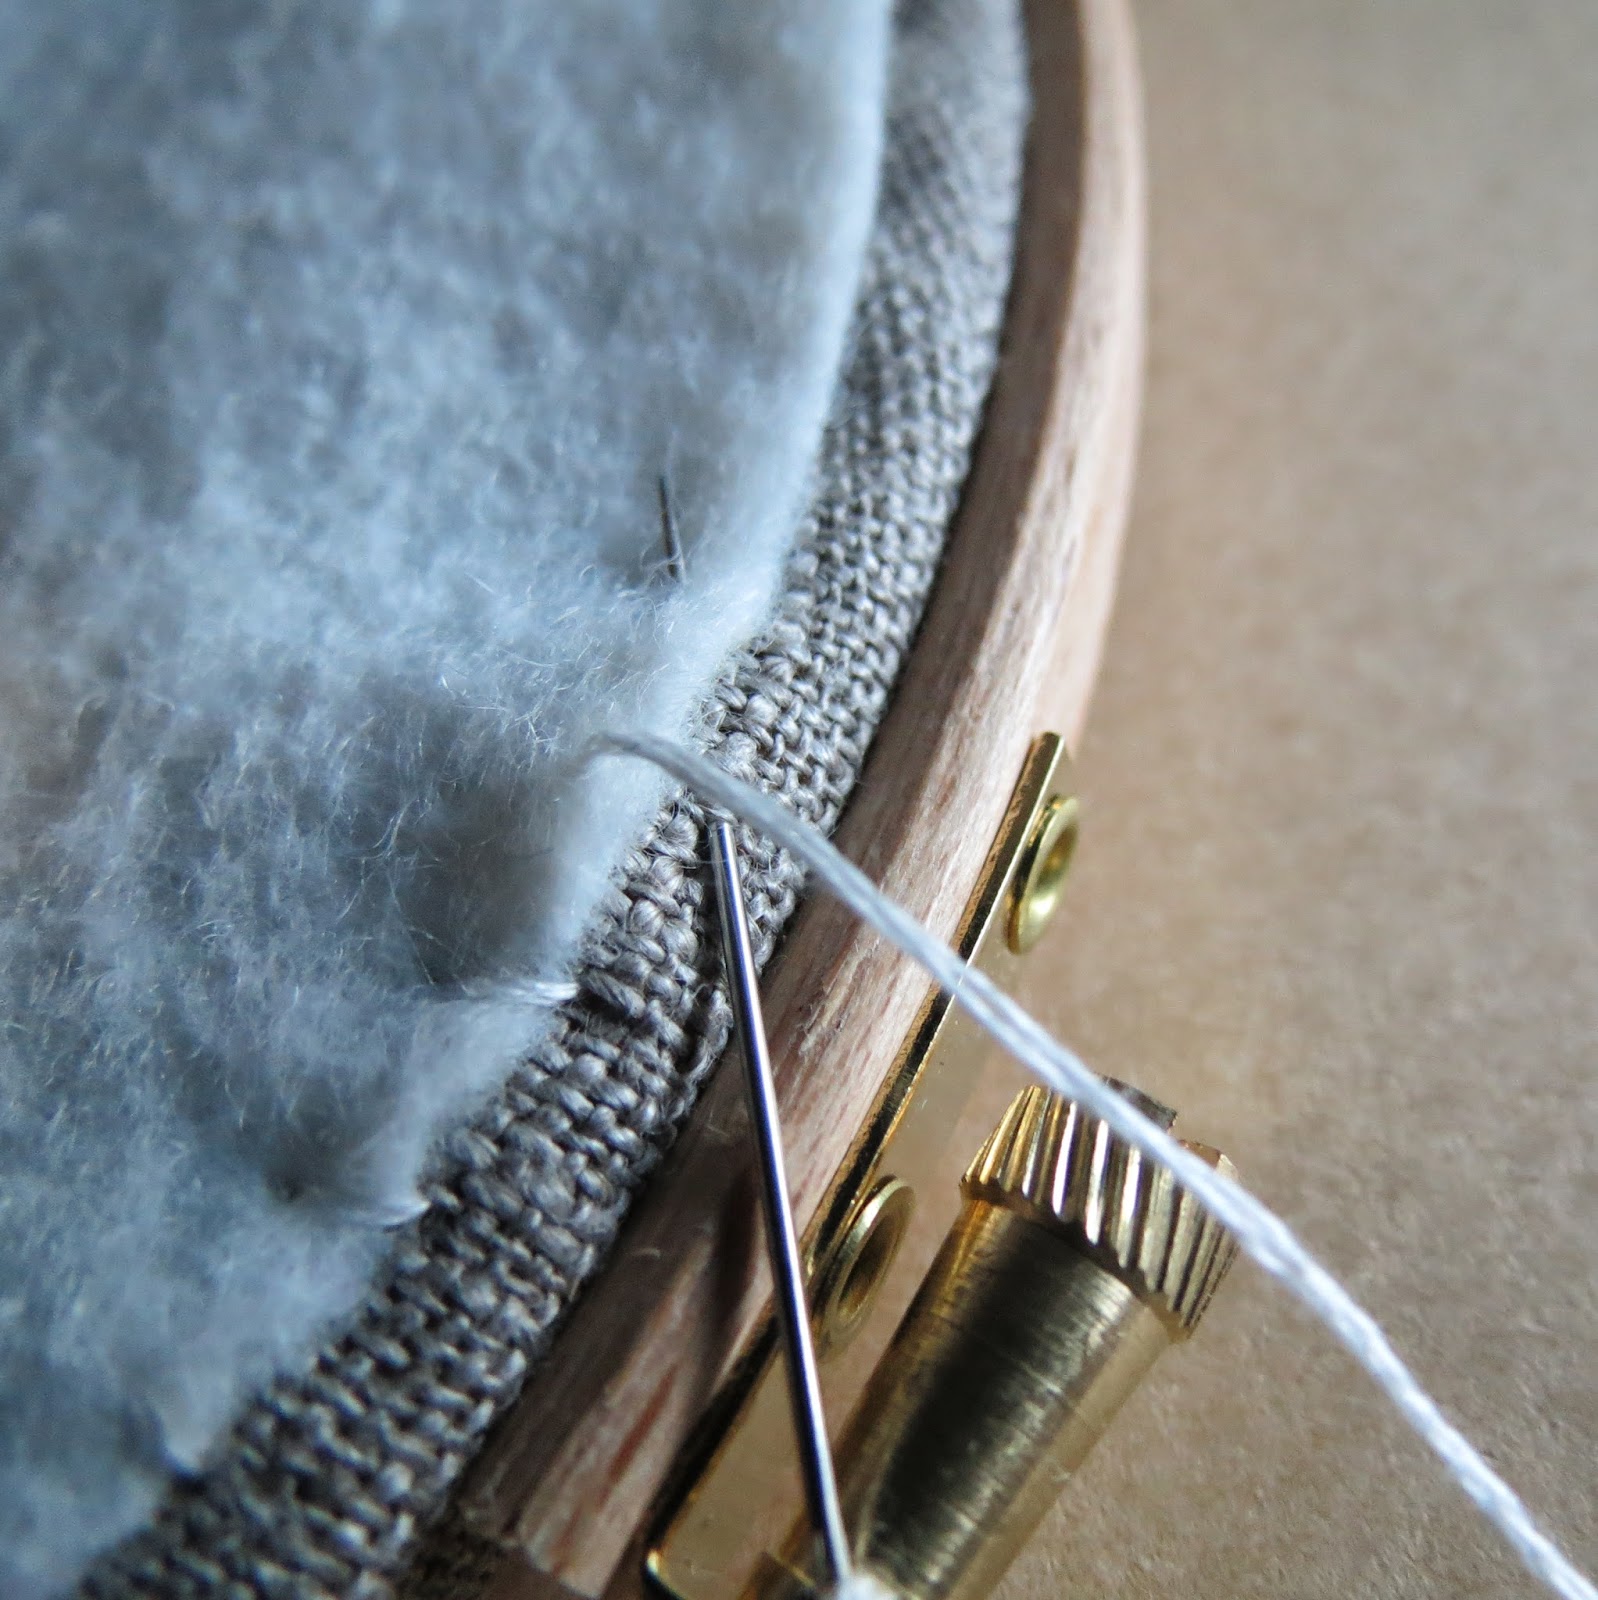
Once you've finished your embroidery, turn the hoop over and trim the excess fabric 1” ( 2 ½ cm) away from the hoop edge.

Using embroidery thread or something similar, starting at the top, stitch a row of running stitch around the seam allowance, ensuring that you leave a long tail at the beginning.

Once you’ve stitched the full circle, take the thread ends and pull them together to gather the fabric. Knot the thread in place to secure the pleats. I have at time left my hoops like this, however when gifting them I always do the following.......
To neatly finish the back of your hoop, take the circle of felt you prepared earlier and Whip Stitch in co-ordinating coloured embroidery thread the felt circle to the gathered linen below.

In case you're interested, the piece I backed was my Autumn Leaves Hoop, which you can read all about HERE.
Hi Sarah, this is really a perfect finish, neat and tidy... I also do adore the button :)
ReplyDeleteLove from Turkey...
SO beautifully done Sarah!!! What a wonderful way to finish off a hoop for a gift. xx
ReplyDeleteA very neat way to finish off any embroidery in a hoop. Simple to do too, which makes it even more attractive.
ReplyDeleteA great tutorial Sarah thank you! It looks so neat and tidy, I will definitely be trying this :)
ReplyDeleteMarianne x
Great effect, a clean embroidery.
ReplyDeleteThanks for the tutorial.
Miss
Thank you for this very useful tutorial. I'll be remember to do this the next time. Thanks again! x
ReplyDeleteOh now, that is such a good idea! It does look more finished, and a wee bit more professional, that way. Thanks for the tip and clear tutorial. x
ReplyDeleteWhat a great article, i just loved it and i loved to read it. Excellent thought author,i have bookmarked it.
ReplyDeleteJpg Art
This comment has been removed by a blog administrator.
ReplyDeleteHi Sarah! I didn't realise you had a blog! Just found you now. Been meaning to sort out backing hoops for ages! This such a great tip, thank you so much
ReplyDeleteImogen x
Brilliant! I have been struggling with pieces of card and glue. Will try this now.
ReplyDeleteDo you know how long I have been looking for a better way to back my hoops?? This is fab! Thank you :)
ReplyDeleteis the button for decoration only… Or do you use it to hang the needle work?
ReplyDeleteHi Becky, thank you for asking, On this occasion I added the button as a decoration, however I have in the past tied some twine around it (once sewn on) and created a little loop to hand the hoop from. Sarah xo
DeleteThank you! I feel better about finishing my hoops now :3
ReplyDeleteThank you! I feel better about finishing my hoops now :3
ReplyDeleteI still have e6000 and hot glue on my finger tips from the last hoop I finished, but I now I know a better way. Thank you Sarah!!!
ReplyDeleteI just finished my first ever embroidery piece and used this to finish off the back. Very easy! Much appreciated!! :)
ReplyDeleteSo simple, yet so beautiful. Thank you!
ReplyDelete